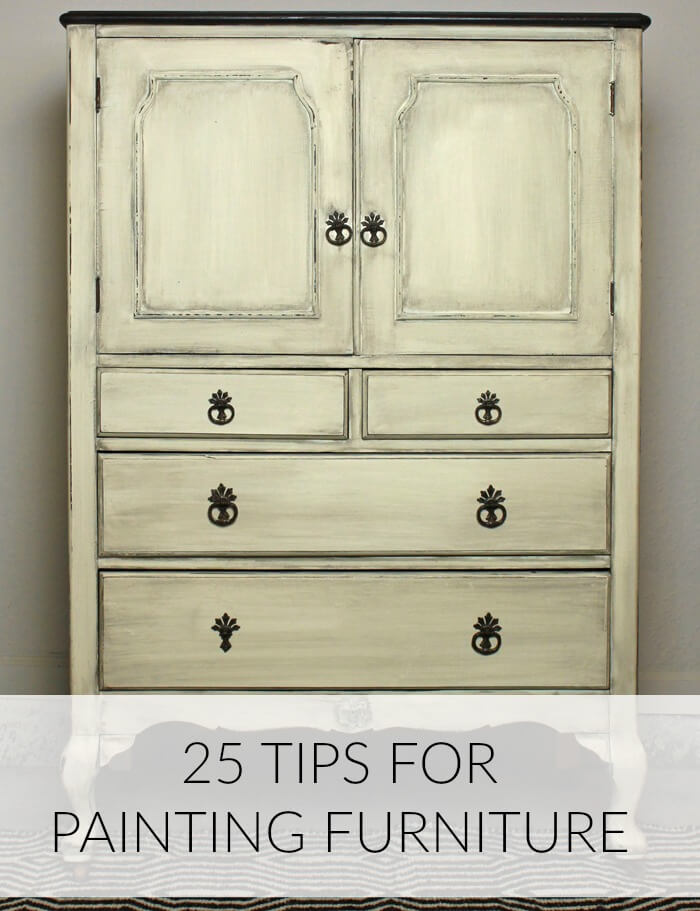
I always love reading furniture painting tips from other painters! Sometimes there’s a completely obvious way to do something or save time but it just hasn’t crossed your mind. It’s that time of year to start new projects (which is actually any time of year in my book…finishing them is another story), so here we go!

Prepping Tips:
- Clean your furniture as soon as you get it or start your new project. Wipe off the outside, inside doors and drawers and tip it over and clean underneath. It’s unbelievable how much can hide under a piece of furniture!
- Krud Kutter will usually adequately clean a piece.
- Take off all the doors and hardware and take out the drawers. I promise the extra work will make your project faster in the long run.
- EVERYTHING needs to be sanded with a sanding sponge at minimum, don’t skip that step!
- Use sanding sponges to lightly sand furniture that doesn’t need an electric sander. This includes unpainted pieces in good condition with no deep scratches that need to be sanded out.
- When you need to use an electric sander, use 120 grit. It’s my go to, then assess from there if you need lighter or heavier grit.
- The easiest way to get back to bare wood is through stripping (I use this one) instead of sanding. It sounds scary but just follow the directions, you can do it!
- Use bleach to remove a water stain from bare wood (so only after stripping/sanding).
Furniture Painting Tips:
- Pay attention to your painting conditions. Painting in cold temps will not give you a good finish.
- Paint a layer of light gray under white paint to get better coverage.
- Use tinted primer if you’re painting with a darker color, then if your top color chips off, bright white won’t be exposed.
- Use a good acrylic paint like General Finishes (NOT the craft paint) so you don’t need a primer. This stuff is amazing!
- More thin coats of paint are better than fewer thick coats.
- If you have any bleed through use an oil based primer or shellac (also oil based).
- Use a chip brush to apply oil-based products so you can throw it out when you’re done.
- Use polycrylic clear coat to seal paint/stain, even if you’re using chalk paint.
- An artist’s brush works great to accent details.
- Know the difference between distress and glaze. Distressing is when the original wood shows through the paint and glazing is a technique where you wipe on a darker color making the piece look older and a bit dingy, especially in the cracks.
- Run a sanding sponge on the edges of your piece to lightly distress it
- Use a sponge to apply gel stain and a chip brush to smooth it out.
- When painting stripes, paint the base color first in case of bleed through, then paint on the color of the stripe.
- Let each coat dry overnight for maximum cure time. It’s not the fastest way to complete a piece, but it is the most durable!
Cleanup Tips:
- Wrap brushes in foil or a plastic sack while you take breaks from painting. Cover your paint tray as well if there’s a substantial amount left. They’ll be okay overnight but any more than that you should take the time to clean up properly.
- Dawn dish soap works great for cleaning water based products out of brushes.
- If you have oil based products on your hands, use vegetable or oil oil to get it off, then wash again with dish soap.
- Paint takes 30 days to fully cure. Keep this in mind when setting things on your furniture.
Phew, that’s a lot of information without a lot of in depth explanation, so feel free to ask questions in the comments! What are your best furniture painting tips and what would you like to know more about?
Download this furniture painting guide for even more information!


Sarah Anderson
Tuesday 31st of May 2016
Taking the doors off and the drawers out does indeed make painting easier with less mistakes. I also like using tape to guide where I want and don't want the paint to be. A lot of people seem to disagree with me, but you just have to be careful with it and you'll be fine.