This is a sponsored conversation written by me on behalf of Cricut. The opinions and text are all mine.
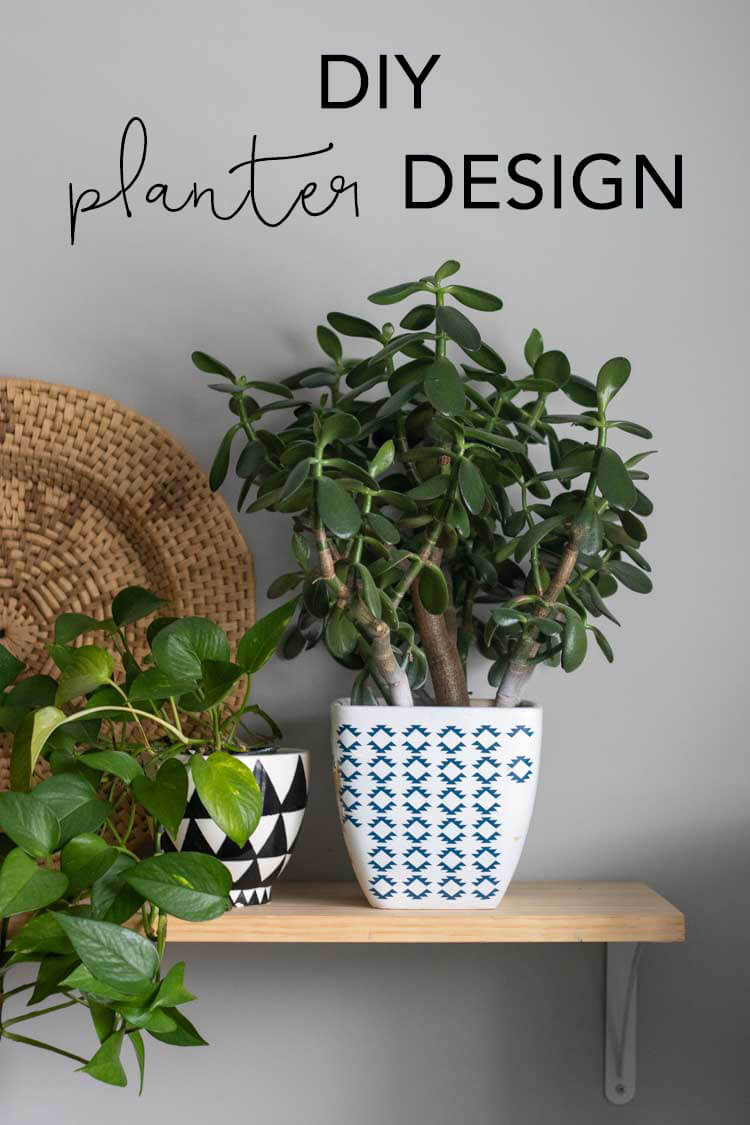
I used vinyl and my Cricut machine to update a faded planter and create my own DIY planter design. This is a super easy project with endless possibilities!
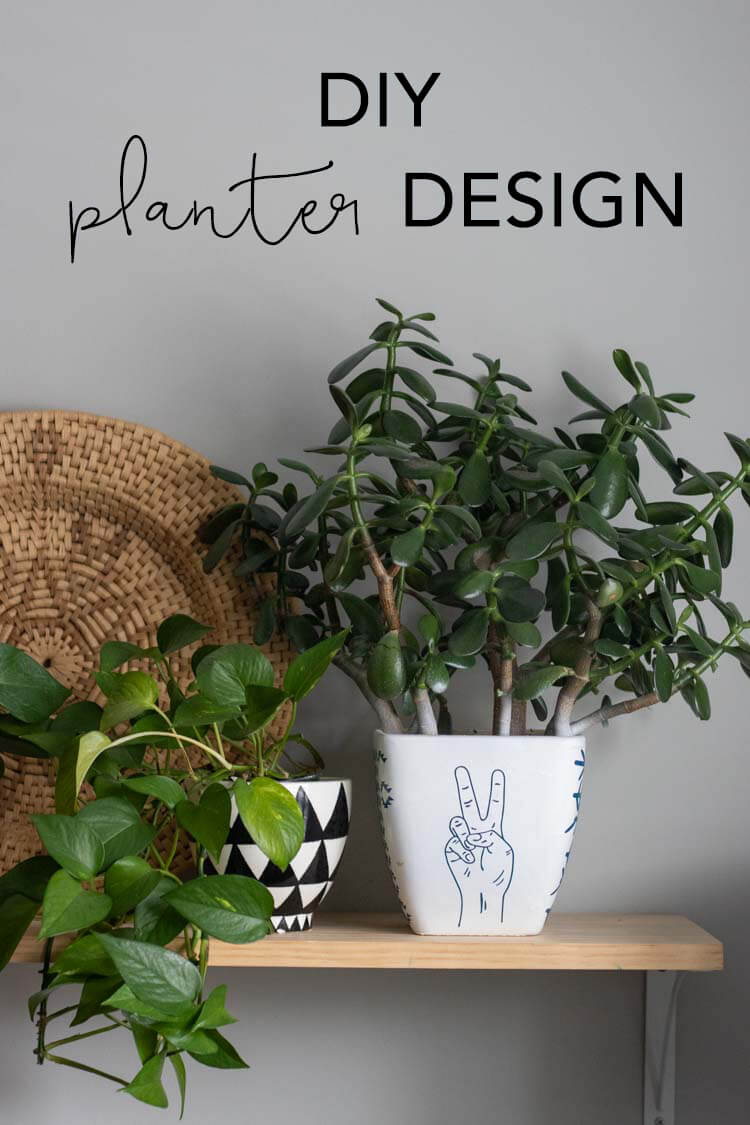
I am still so new to this Cricut party, so I wanted to try out a vinyl design. I’ve had this planter that’s needed a makeover for awhile now, so I thought this would be the perfect opportunity to turn it into something cute.
When I bought this planter a couple years ago it had a white marble pattern. It yellowed really quickly from exposure to sunlight I guess and hasn’t looked so pretty since.
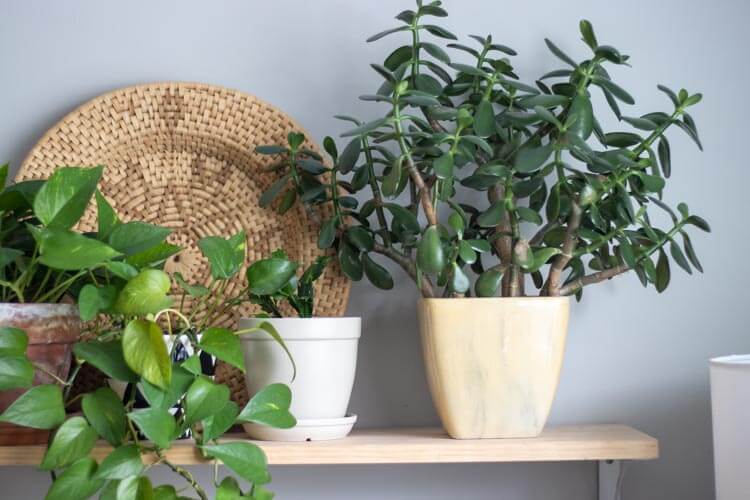
It’s currently the home for my jade plant. That thing has grown quite a bit lately so I decided to just makeover the pot with the plant in it. It resulted in some spray painted leaves and a few dropped leaves, but overall it wasn’t too bad. Just a little bulky to work with.
How to make your own DIY planter design
There’s a couple different ways you might start out this project. If you don’t like the existing color of your planter, you can quickly paint it whichever color you like. Since mine was yellowing, I just use a matte white spray paint to give it a nice background color for my designs. This step alone improved my planter so much!
I do suggest letting your paint dry the full 24 hours before moving on to your vinyl designs. I tried to do this project in a couple hours and had a bit of a mishap. You can see that further down in this post. Whoops!
If your planter is already a plain color that you like, no need to spray paint. Then you’ll just need to be sure you have these supplies on hand and you’re ready to go.
Supply list:
- Cricut machine (I’m using the Cricut Air Explore 2)
- Vinyl (I used the temporary vinyl)
- Transfer Tape
This project is pretty straightforward, but since this was my first time using vinyl I did learn some things as I went.
How to make your own designs
I scoured pinterest for a bit and looked at modern planters for inspiration and took note of the patterns and designs I was drawn to. Then I went into the Cricut Design Studio and searched through their images.
I love the design studio. It seriously takes so much work out of these projects because they seem to have everything in there already!
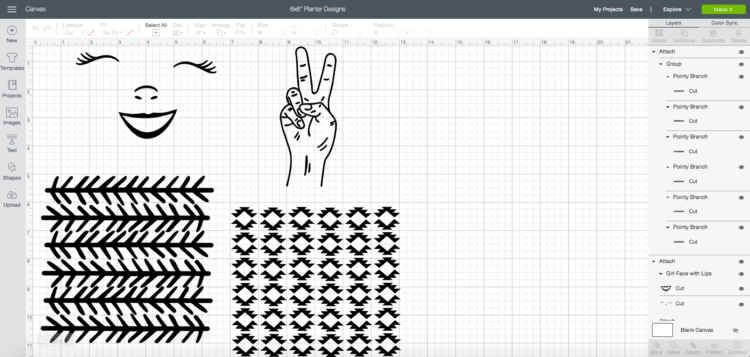
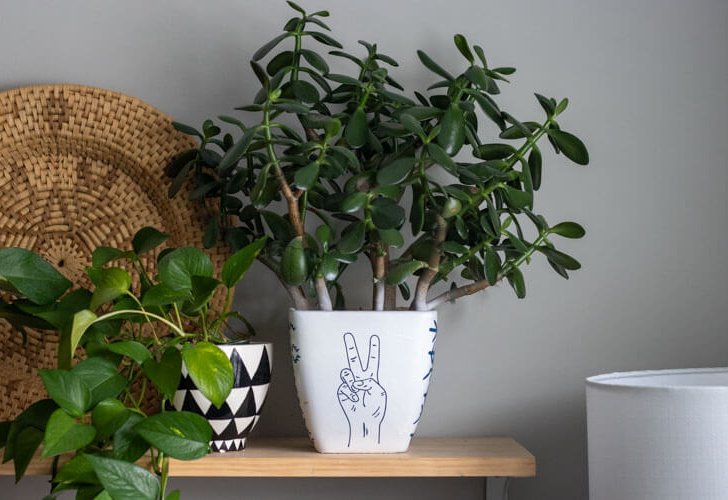
So I chose two patterns and a face image and a hand making a peace sign. I decided to do a different design for each side of my planter. I’m always rotating the plants so they don’t grow heavy on one side while they reach for the sun, so I thought it’d be fun to have a different view as it’s rotated.
Creating a pattern in Cricut Design Studio
The face and hand designs were super easy, but I had to create the patterns myself.
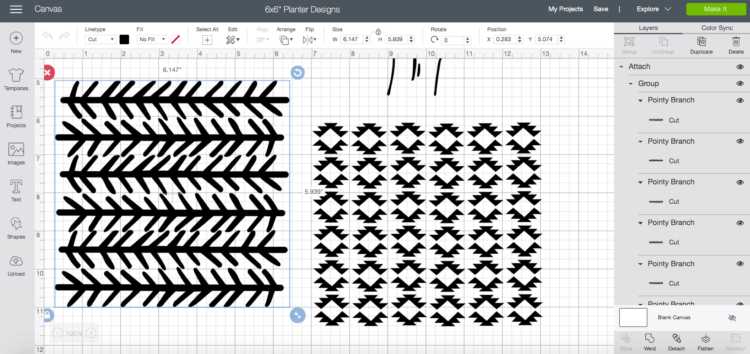
I took the images I liked and duplicated them to create a row. Then I selected the entire row and aligned them horizontally, then grouped them together. Next you can duplicate that entire row as many times as you need to create your pattern. To align them vertically just select all your rows at once and align them. After you get everything looking the way you want, be sure to attach them together so they don’t get reordered when it’s time to cut.
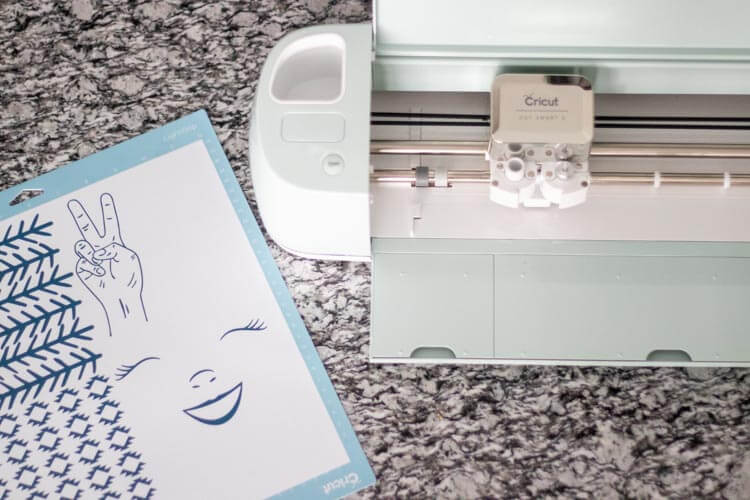
Once you have all your designs completed, make sure they’re the right size for your planter. I was working with a 6″ planter so I made sure the width and height were as close to 6″ as possible without going over. Then follow the directions to cut your vinyl.
Transferring your design to your planter
Once you have your designs printed and weeded, it’s time to use the transfer tape to move your design from the vinyl backing to your planter.
If you picked a super simple design that can be placed by hand without messing up spacing, you don’t have to use the transfer tape. But for all of my designs it was helpful.
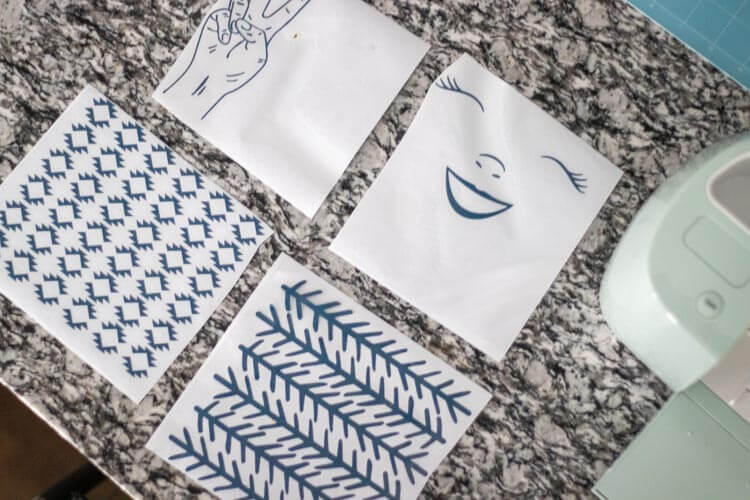
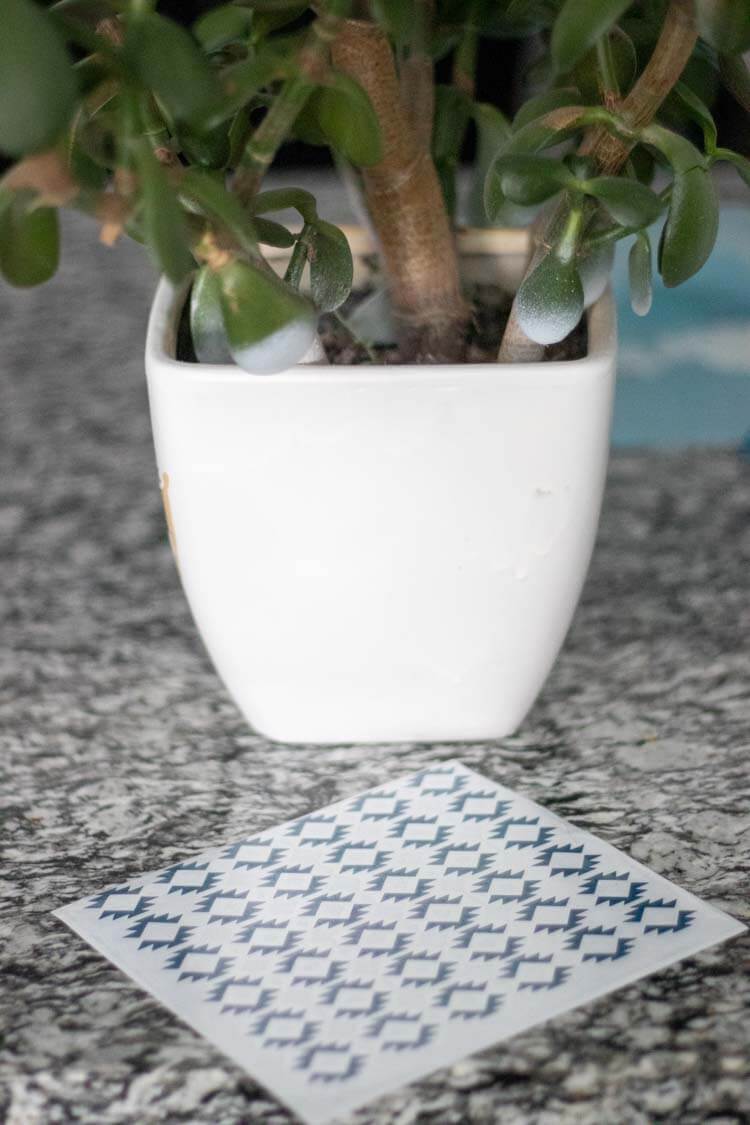
I will say that there was a bit of a learning curve to the transfer tape for me. You need to burnish the tape onto the vinyl design so it sticks. There is a tool for this but I don’t own it yet, so I just used a credit card to smooth everything out and remove all the bubbles.
A couple of my designs were a bit intricate and took some work to get them to stick to the transfer tape. I ended up peeling the backing off the vinyl super slowly and using my finger to press down any ends to the tape that needed it. I feel like this is something you must get better at with a little practice.
My biggest issue with the transfer tape was because my paint hadn’t cured yet. So definitely user error there! Here’s my epic fail with the face design. Sad day.
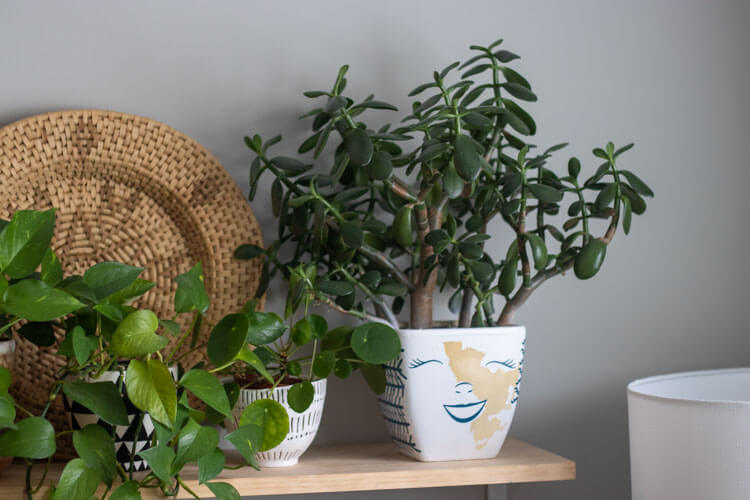
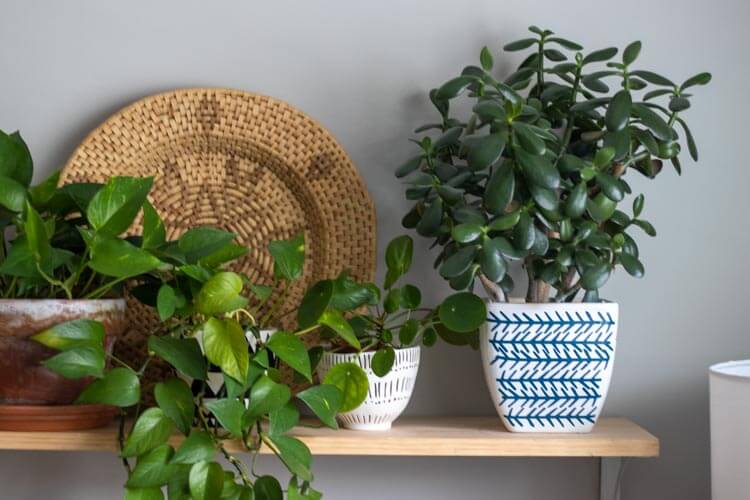
But the other 3 sides turned out really good.
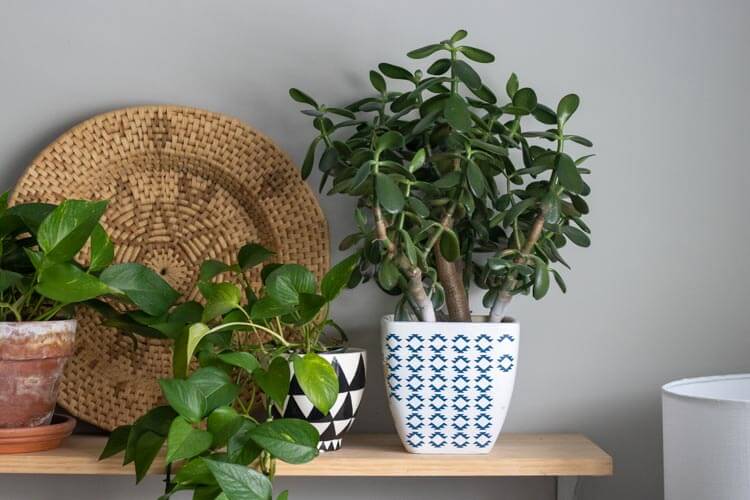
I had a couple of the aztec pieces get stuck to the transfer paper. Nothing that I couldn’t have easily fixed, but then I kind of liked the way the edge pieces were uneven. Looks like chipping tile or something. So I decided to leave it!
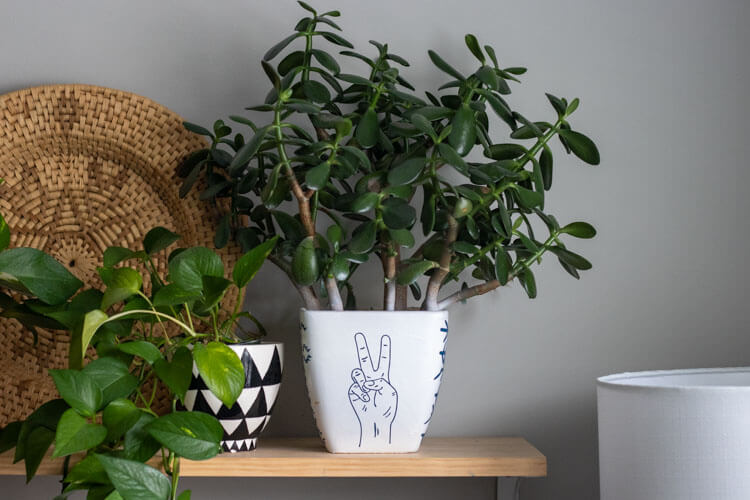
The peace sign is definitely my favorite. And I really would have liked that face too!
You can probably see some painted branches and leaves in these pictures. Whoops! I think they’ll be fine. There were a few casualties from this project, but nothing I can’t propagate for more baby jade plants!
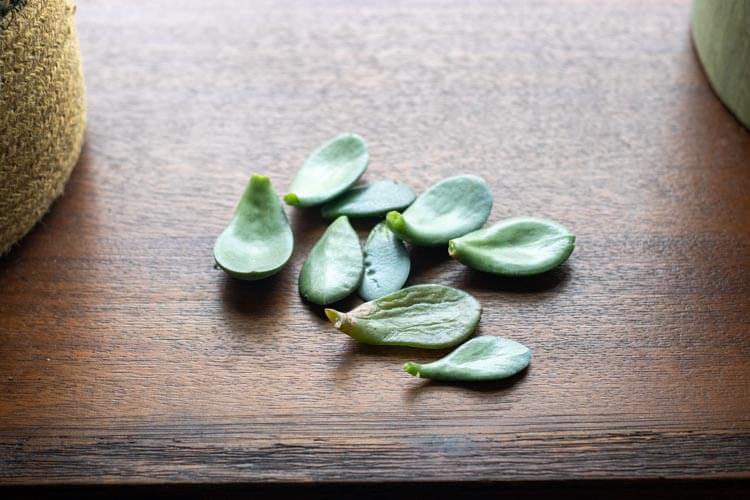
To be honest, I’m usually not a huge crafter. But I am loving how easily I can make things using the Cricut. It’s like crafting, but easier, ha!
Want more Cricut ideas?
- Use your Cricut to make sustainable gift wrap
- These iron on Halloween bags are super cute and super easy.
- Check out my 5 favorite things about my Cricut
If you liked this DIY Planter design post, pin it!


James Parker
Tuesday 26th of January 2021
How nice, I love to personalize things, they give a lot of personality to the decoration. Thanks for sharing