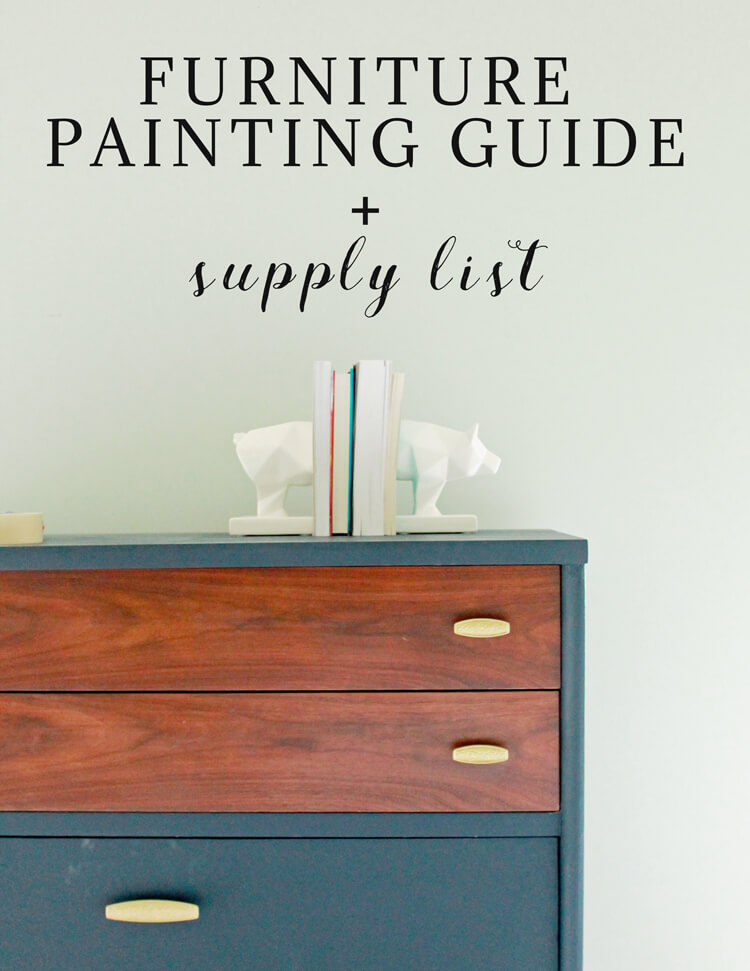
One of the easiest ways to make a huge impact in your home with a small investment is to paint your existing furniture and give it new life! While painting furniture isn’t exactly hard, it’s definitely intimidating if you haven’t done it before. The hardest part really is just rolling up your sleeves and getting started. Hopefully this furniture painting guide will help give you the instruction and confidence you need to get going!

There are so many variants that play a role in exactly what you’ll need to do that oftentimes even experienced painters don’t know exactly which steps they’re going to take until they’re in the middle of the process. However, there are some basics steps you should take with every single piece of furniture you paint and that’s what this guide is for.
FURNITURE PAINTING GUIDE + SUPPLY LIST
STEP 1: PREP YOUR FURNITURE
SAND:
You should always ALWAYS sand your furniture. Paints that promise no prepping are a little misleading. They’re claiming that their paint will stick to any surface without sanding and that may be true, but sanding serves more purposes than that. It also helps smooth out an uneven surface and removes spots that may not come off by cleaning with a rag.
You don’t need to sand with an electric palm sander, although in some cases that’s the best option. You also don’t need to sand all the way down to bare would. Start off using a sanding sponge (wear gloves to keep your hands from drying out!) and use a little elbow grease to sand the piece until you have an even surface to paint. If a previous stain or paint is chipping, that may be a situation where a palm sander would be more helpful.
CLEAN:
After sanding, wear your gloves and use a clean rag and Krud Kutter to clean the furniture thoroughly. Don’t forget to tip the piece on its side and clean underneath. You’d be surprised how many occupants your furniture may have that you didn’t know about!
PRIME:
The last step in the prepping stage can also be considered the first step in the painting stage. Deciding whether or not to prime depends on your paint product and the condition of the furniture. Most water-based paint you buy now (not including chalk paint) comes with a primer or doesn’t require one. The most common reason for using a primer outside of what is included in the paint is to prevent old stains from bleeding through your paint job or to tint the piece so it requires less coats of paint. To prevent stains, use an oil-based primer. You can also have your primer tinted when you buy it, which is particularly helpful if you’re going with a dark color. Applying primer is easy, just use a foam roller to roll on an even coat.
STEP 2: START PAINTING
TECHNIQUE:
Now you’re really getting to the fun part! Painting is the easiest part. You can use a roller or a brush and sometimes I alternate between the two. Typically you’ll need 2-3 coats of paint depending on the color. Paint each coat lightly (globbing it on too thick will prevent it from drying and adhering correctly) and wait until each coat dries completely before starting the next.
PAINTING CONDITIONS:
Your painting conditions really do matter. Pay attention to the instructions on the can for the optimal temperatures and conditions. If it’s too cold or the humidity is too high, you’ll find that the paint may gunk up on you, become sticky, or take hours to dry. All of these affect how smooth the finish will be. The type of paint you use also makes a difference. I prefer to use premium paint products like General Finishes or Sherwin Williams furniture paint. However you can still achieve professional results with water-based latex paints, but I do not recommend chalk paint.
STEP 3: DISTRESS (IF DESIRED)
To get that worn look, use a sanding sponge to distress your piece back to the bare wood. Lightly rub the sanding sponge alone the edges of your piece and keep going until it’s finished. This technique really just depends on your personal preference.
STEP 4: APPLY CLEAR COAT
I prefer to use Modern Masters Supreme to seal my painted furniture. It is pricey, but it is the most durable finish I’ve used. If this isn’t an option, polycrylic is the next best option. Use a foam roller to generously roll it on, then go over it again lightly all in one direction to smooth out the finish. After you smooth it out, DON’T TOUCH IT. Even if you see something that needs fixed, wait until its dry and attempt to smooth it out with a sanding sponge before applying your next coat. You will need 2 coats.
STEP 5: GLAZE (IF DESIRED)
Glazing is usually an alternative to distressing – it gives the furniture a look of being worn in the cracks brings out the details. Apply glaze with a brush or sponge then use wet cheesecloth to wipe back the glaze until you reach your desired look. Try to wipe in the direction of the original grain of the wood for a more natural look, but really you have freedom to do whatever you want with this step. Follow with one more coat of Modern Masters Supreme.
STEP 6: ADMIRE YOUR FINISHED PRODUCT!
FURNITURE PAINTING SUPPLY LIST
Don’t be intimidated by this list. I know it looks like a lot, but most of these things will get you through multiple painting projects and you might already have some of them on hand! I’ve used affiliated links to link you to the exact projects I use for painting furniture.
THE BASICS:
Paint Tray/Liner
Sanding Blocks
Paint Brush
Clean Rag (can use old towels or t-shirts, just make sure they’ll clean!)
Plastic Gloves
Chip Brushes
FOR PREPPING:
PAINT:
General Finishes Milk Paint (my first choice) OR
Sherwin Williams Pro Classic (second choice) OR
Sherwin Williams Ovation (available at Lowes)
Paint Brush – this one’s my favorite!
FOR GLAZING:
General Finishes Glaze (first choice) OR
Valspar Premixed Glaze
Cheesecloth
FOR CLEAR COATING:
Modern Masters Supreme OR
Polycrylic
OPTIONAL:
Oil-based primer
Shellac
Chip brush (I would use this to apply primer so you can throw away, you can also use this to apply glaze or a stain)
Foam roller (you can achieve a decent finish with just a paint brush if desired)
Looking for more information about painting furniture? Try one of these!
The best paint brush for chalk paint
How much can you paint with a quart of chalk paint?
Why I don’t use chalk paint anymore
25 painting tips and tricks: time savers and painting hacks
Everything you need to know about buying used furniture
The advantages of buying used furniture


15 DIY Home Decor Projects to Refresh Your Space - My Breezy Room
Monday 22nd of July 2024
[…] furniture used to be my thing, so I have a handy furniture painting guide you can use if you’re new to […]
How to Transform Your Furniture with Specialty Furniture Paint - My Breezy Room
Monday 2nd of October 2023
[…] Once you see the variety of furniture paints available and the dramatic effects you can achieve without breaking the bank, you will be ready to paint your furniture. […]
Sarah
Sunday 26th of August 2018
You must have luck with general finishes, I have not... any tips? Why don’t you use GF clear? Thank you!
Kala
Sunday 26th of August 2018
I usually use a foam roller to paint on general finishes and my biggest advice is not to overwork the paint. Make sure to smooth over globs, but it has a self leveling property so just put on a thin coat and it should even out well as it dries. As far as the clear coat, I don't have a problem with theirs, but if I'm going to pay a premium price for a product, I want the best one, and masterclear is the best of the best!