
Lately, I’ve been taking on more custom painting jobs for friends and family, and I’m so excited to start sharing some of these transformations with you. There are so many amazing projects in the works—consider this the first of many!
Today’s piece has a special story behind it. It belongs to my cousin and came with the house she bought years ago. I mean, seriously—how lucky is that? A free vintage piece with history and potential? That’s the dream.
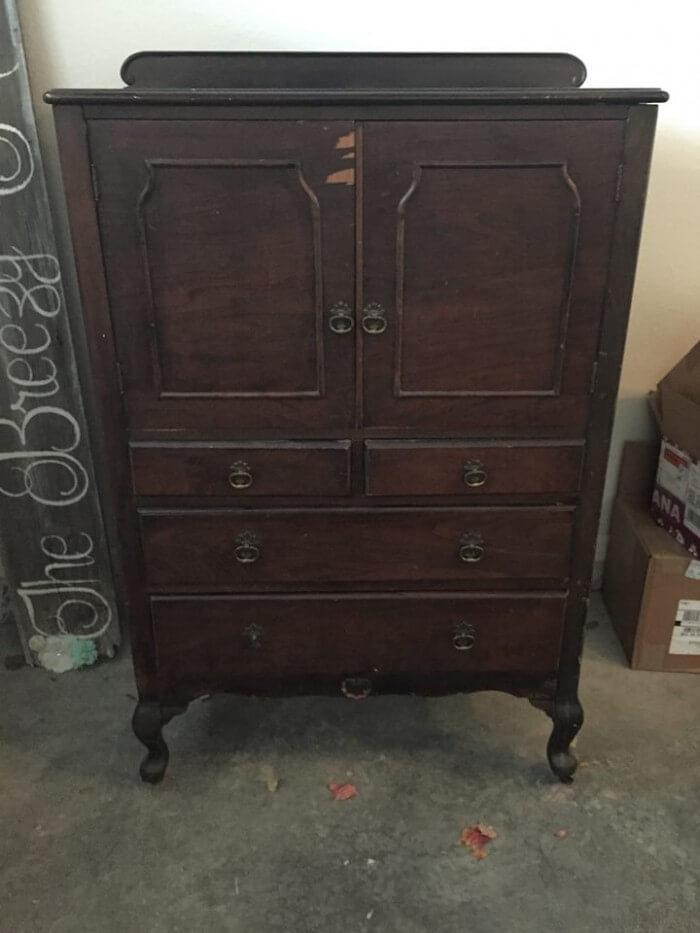
The Before: Dark, Damaged, and Full of Potential
When I first saw the piece, it had a dark finish and quite a bit of damage—especially on the top and a few of the cabinet doors. Still, I knew it had great bones and was worth saving.
Step 1: Repairing the Veneer
The top had missing veneer in a few places, so I started by filling those spots with wood filler or putty. Once it dried completely, I sanded the entire surface smooth using a sanding block. This step is key to getting a professional finish, especially if you’re working with older furniture.
Step 2: Painting the Body
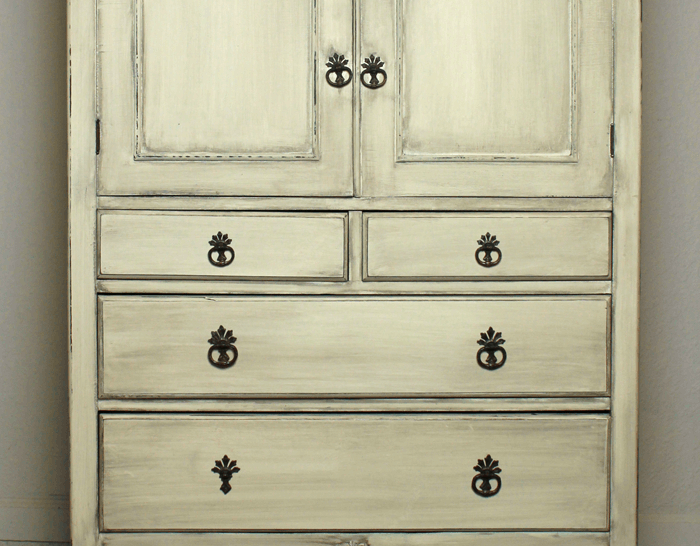
For the body of the piece, I used Navajo White—a soft, warm white that looks gorgeous against rich wood tones. After a light sanding and cleaning, I applied two coats of paint for solid coverage.
I originally planned to restain the top without stripping it completely, but some old marks and uneven tones bled through the new stain. So I changed course—and I’m so glad I did.
Step 3: Stripping the Top with Citristrip
Let’s talk about stripping furniture—because I know it sounds intimidating. I used to think so too, but it turned out to be a lot easier than I expected.
I used Citristrip, a less harsh (but still effective) furniture stripper. It’s supposed to have lower fumes, but I still wore a respirator mask to be safe.
Here’s how I did it:
- Sprayed on a generous coat of Citristrip.
- Let it sit for a few hours (check our label for timing).
- Used a plastic scraper to remove the softened finish.
- Cleaned the residue off with odorless mineral spirits and let the wood dry overnight.
Hot tip: Next time, I’ll probably do this before painting the body. I had to cover it with trash bags to avoid getting stripper on the fresh paint!
Step 4: Restaining the Top with Gel Stain
After the top dried, I used an oil-based gel stain I picked up from a local shop. I love using gel stain because it gives me more control. Unlike liquid stain, it sits on the surface longer and lets you wipe off the excess without soaking in too quickly. If you’re new to staining, this type is super forgiving.
Step 5: Antiquing and Sealing
To bring everything together, I added a quick layer of Valspar Antiquing Glaze over the white body. This helped tone down the brightness and gave the whole piece a warmer, vintage feel to match the dark-stained top.
For protection, I sealed the top with Masterclear, a durable water-based topcoat I really trust.
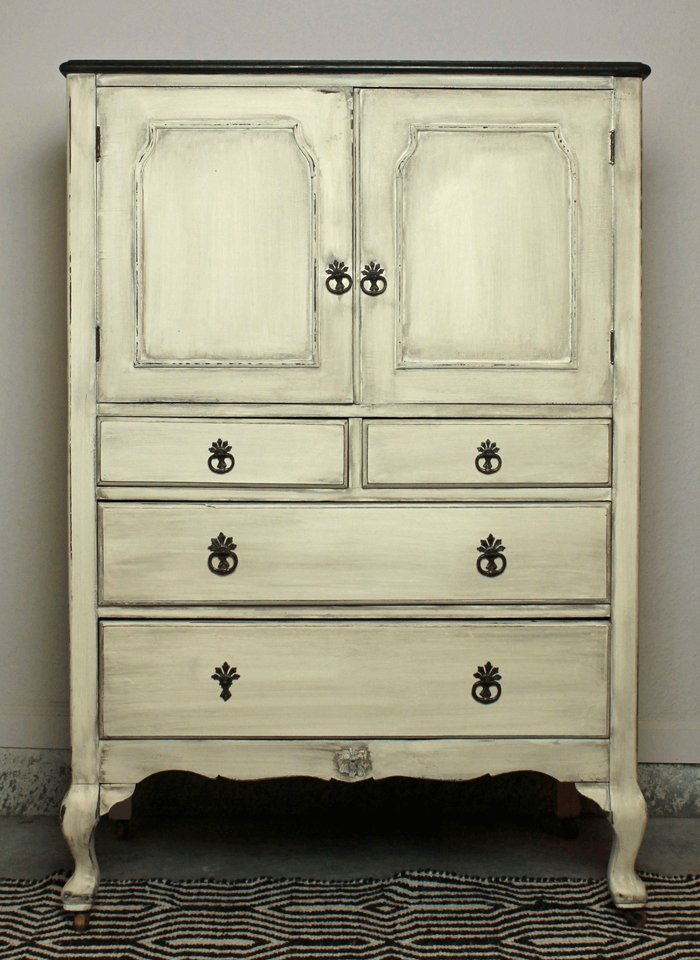
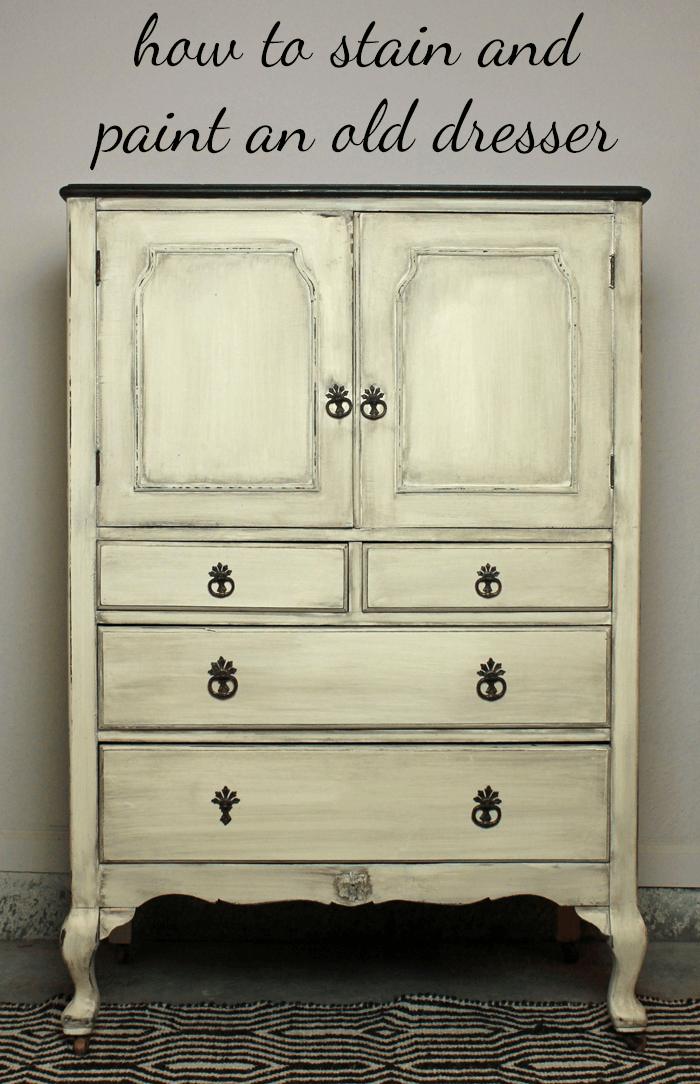
The Final Look
We still need to figure out the missing ring pull on one of the handles—so we might swap them all out for something updated—but even as-is, I love how this piece turned out. It’s got that perfect blend of old and new, classic and custom.
Honestly, the hardest part of painting custom furniture is giving it back. Would I like to keep every piece I redo? 100%. But the best part is seeing how happy the finished piece makes its new (or original!) owner.
Want to Try Painting Furniture Yourself?
Whether you’re just getting started or want to step up your skills, I’ve put together a free guide to painting furniture with everything I’ve learned over the years—from product recommendations to prepping, painting, and sealing for long-lasting results.

jennifer prod
Monday 12th of January 2015
bookmarking this! gorgeous work, as always :)
Kala
Monday 12th of January 2015
thanks, Jennifer!
Jenna
Tuesday 6th of January 2015
Is is just me or does this remind you of the Wardrobe from Beauty & the Beast? :) It's beautiful. Great work!
Kala
Monday 12th of January 2015
Thanks, Jenna! My cousin loved it too!
Julie
Tuesday 6th of January 2015
I think this is one of my favorite pieces that you have done! So so pretty!! I love the dark wood on top with the white. Gorgeous!
Kala
Monday 12th of January 2015
Thanks, dude! :)
Mae @ Endlessly Every After
Tuesday 6th of January 2015
Oh man this beautiful!!!!
Kala
Monday 12th of January 2015
Thank you :) I really love it!
Cindy
Tuesday 6th of January 2015
Love it! Great job. :)
Kala
Monday 12th of January 2015
:)