
When I first started using chalk paint, all I heard was:
“It’s expensive, but it lasts forever!”
Okay—obviously that’s not all I heard, but you get the idea.
So, naturally, I did what everyone online said to do. I invested in the best chalk paint brush I could find—around $30—and expected flawless, furniture-flipping magic.
But here’s the thing…
Even with that top-tier brush, my paint wasn’t going nearly as far as people said it would. I’d go through almost 10 sample jars just to cover two pieces of furniture. I followed all the directions, used quality paint, and couldn’t figure out what I was doing wrong.
That is, until I remembered something from a chalk painting class I took:
The instructor—who also happened to sell the paint—casually mentioned that she prefers to use cheap chip brushes for her own projects.
Why I Gave Chip Brushes a Try (And Why I’ll Never Go Back)
The first time I needed a second brush for a new project, I didn’t feel like dropping another $30 on a “good” brush. So I grabbed a cheap chip brush from the hardware store just to get by.
I figured it would be “meh” at best.
Instead? I got one of the smoothest, most even coats of chalk paint I’d ever applied.
And here’s the kicker: I used way less paint.
Why Cheap Chip Brushes Work (At Least for Me)
Now, I’m no paint chemist, but here’s my unscientific theory:
Because chip brushes are thinner and less dense, they don’t soak up as much paint. That means more of it ends up on your furniture instead of stuck in the bristles.
Plus, thinner coats = more even coverage = less paint used.
Win-win.
Want even smoother results? You can also thin your chalk paint with a little water before applying. That’s a common pro tip and helps the paint glide on effortlessly.
Okay, But Don’t Chip Brushes Shed?
Yes, sometimes a bristle or two might fall out while you’re painting. I just pick them out as I go and do a quick touch-up. It’s honestly not a big deal—especially when I’m saving both paint and money.
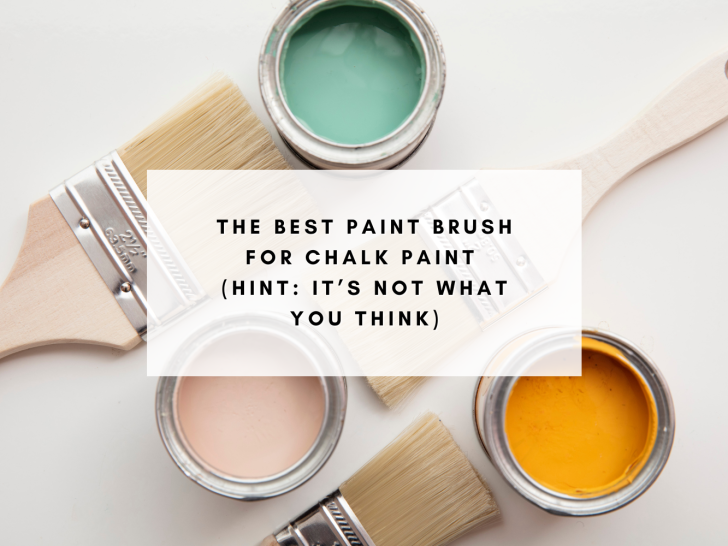
So, What’s the Best Brush for Chalk Paint?
Honestly? These disposable chip brushes.
You can buy a 24-pack for under $15 (with free shipping!). That’s less than 65 cents per brush—perfect for multiple projects, backups, or messy DIY days.
Some people toss them after one use, but I like to rinse mine out and reuse them a couple of times before retiring them.
Grab the exact brushes I use here
When Should You Use a More Expensive Brush? (Extra Value + Comparison Opportunity)
Even though I now prefer chip brushes for most chalk painting projects, there are a few cases when a higher-end brush might come in handy:
- Detailed or ornate furniture – If you’re working on a piece with intricate carvings or lots of curves, a round or oval chalk paint brush like the Staalmeester Series might help you get better coverage in tight spaces.
- Super smooth finishes – If you want a silky, brush-stroke-free finish, try a high-quality synthetic brush like the Zibra Palm Pro. It lays paint on like a dream and is also great for latex paint.
- Topcoats or wax – I don’t recommend chip brushes for wax—opt for a dedicated wax brush instead.
Having a few different brushes on hand gives you flexibility depending on the project. I still own some “nice” brushes for those specific use cases, but for 90% of my painting? The chip brushes win.
How to Clean Chip Brushes (and Make Them Last)
Yes, they’re cheap enough to toss, but if you want to squeeze a few extra uses out of them, here’s how I clean mine:
- Rinse immediately after use – Don’t let paint dry in the bristles. Rinse with warm water (or mineral spirits if using oil-based products).
- Use a brush comb or old toothbrush – This helps get the paint out of the base of the bristles.
- Let them dry flat or hanging – Avoid drying standing upright, or the water can loosen the glue.
Other helpful brush cleaning supplies:
Cleaning takes just a couple minutes, and you’ll get at least 2–3 uses from each brush this way.
FAQ About Chalk Paint
Can you use chip brushes with chalk paint?
Absolutely. In fact, many DIYers (myself included!) prefer them for the way they lay down thinner, more even coats.
Why is chalk paint so thick?
Chalk paint is designed for high coverage and minimal prep—but if it feels too thick, you can stir in a little water to thin it out. I usually add a few tablespoons at a time until it spreads more easily.
Do you have to wax over chalk paint?
Not always! While waxing gives that classic matte finish, you can also use a water-based polyurethane topcoat for added durability—especially on high-use pieces like kitchen tables or cabinets.
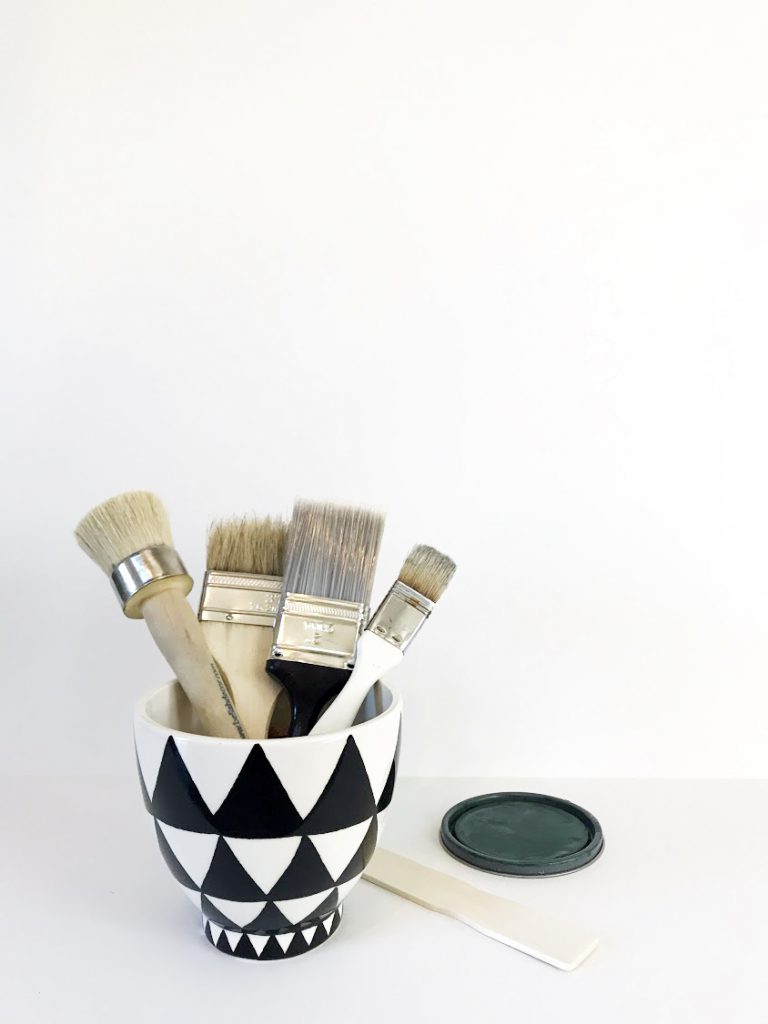
My Go-To Chalk Painting Supplies List
Here’s what I keep in my chalk painting toolkit:
- Chip brushes (24-pack)
- Good synthetic brush for detail work
- Furniture cleaner/deglosser
- Drop cloth
- Chalk-style paint
- Topcoat sealer
- Wax brush (if using wax)
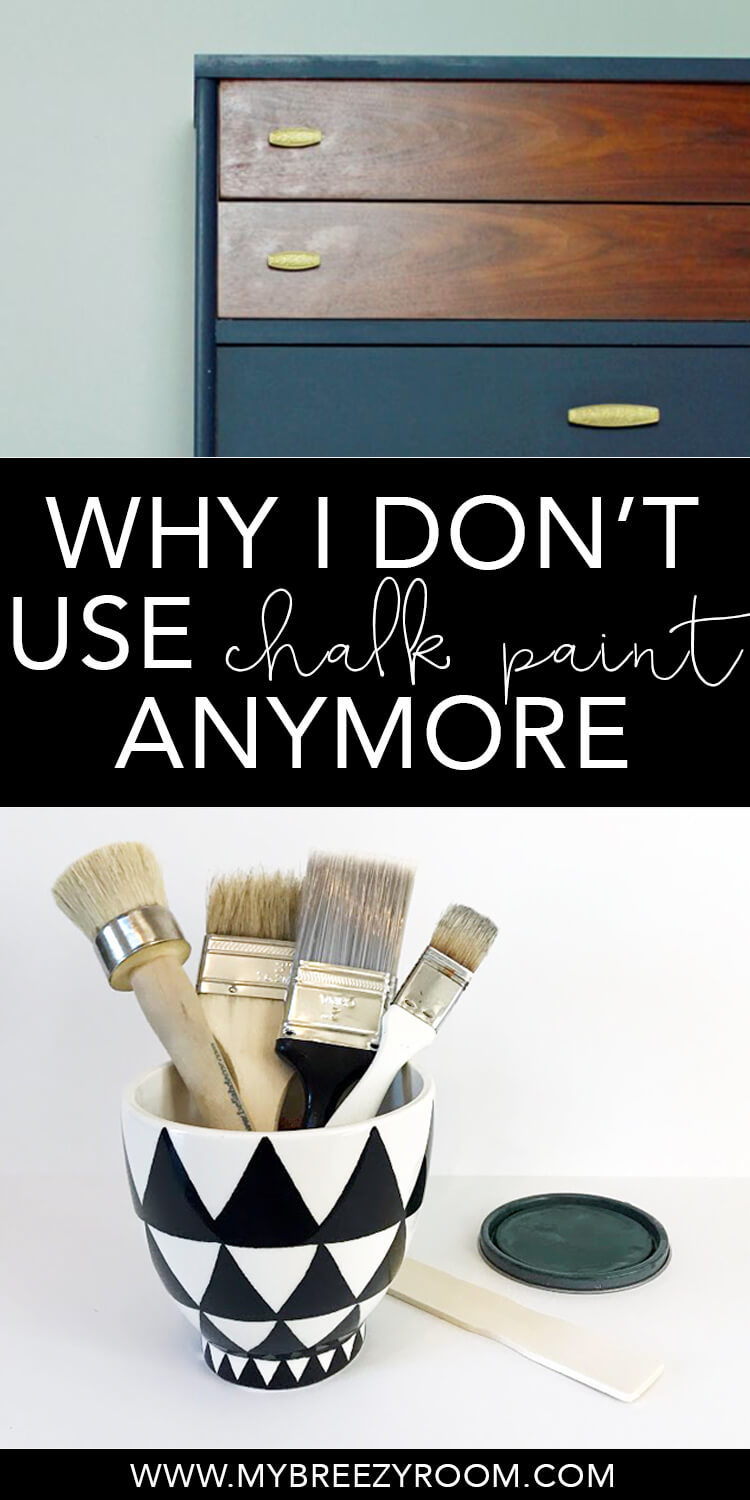
UPDATE: I Don’t Use Chalk Paint Anymore…
Yep! I’ve since moved on from chalk paint (find out why I made the switch here), but I still love these brushes—especially for oil-based products and primer. They’re my go-to for anything that might wreck a nicer brush.
Your Turn:
Have you ever tried cheap brushes for painting projects? Got a favorite budget brush or DIY trick? Drop it in the comments—I’d love to try it out!
And if this post helped you, pin it to save for later.


Modern Farmhouse Patio
Friday 19th of January 2018
[…] you liked this post, I’d love for you to check out some of my other posts, like the best paint brush for chalk paint, this houseplants for beginners guide, and how to style open […]
Priming Wood With Undercoat | Wooden Furniture
Wednesday 28th of June 2017
[…] very important reminders to care for teak furniture are sanding and oiling. Teak oil will help prolong the color, but sanding and oiling. […]
Beech Wood Elder Scrolls | Wood Furniture
Monday 27th of February 2017
[…] With Superior Longevity Polishing cement, however , consists of diamond impregnated wheels, disks, and parts used in a series from coarse grit to fine grit. The process truly involves mincing the cement matrix […]
Wood Polish Guide | Wood Floors
Wednesday 28th of December 2016
[…] that having a brick wall to see how it will work. I am a wife, mother of 4, DIYer and self-taught interior decorator with a putty knife. I found it useful to follow along 1 section behind my Dad, who was doing the […]
Angela
Thursday 8th of September 2016
Kayla, you are so awesome! Thank you so much for being patient and answering my many questions!!